

Cookie Policy
As described in our Privacy Policy, we collect personal information from your interactions with us and our website, including through cookies and similar technologies. We may also share this personal information with third parties, including advertising partners. We do this in order to show you ads on other websites that are more relevant to your interests and for other reasons outlined in our privacy policy.
Sharing of personal information for targeted advertising based on your interaction on different websites may be considered "sales", "sharing", or "targeted advertising" under certain U.S. state privacy laws. Depending on where you live, you may have the right to opt out of these activities. If you would like to exercise this opt-out right, please follow the instructions below.
If you visit our website with the Global Privacy Control opt-out preference signal enabled, depending on where you are, we will treat this as a request to opt-out of activity that may be considered a “sale” or “sharing” of personal information or other uses that may be considered targeted advertising for the device and browser you used to visit our website.
Before You Begin
This guide will tell you everything you need to know to use the product properly. Please read it carefully! It will take about 2 to 5 minutes to read.
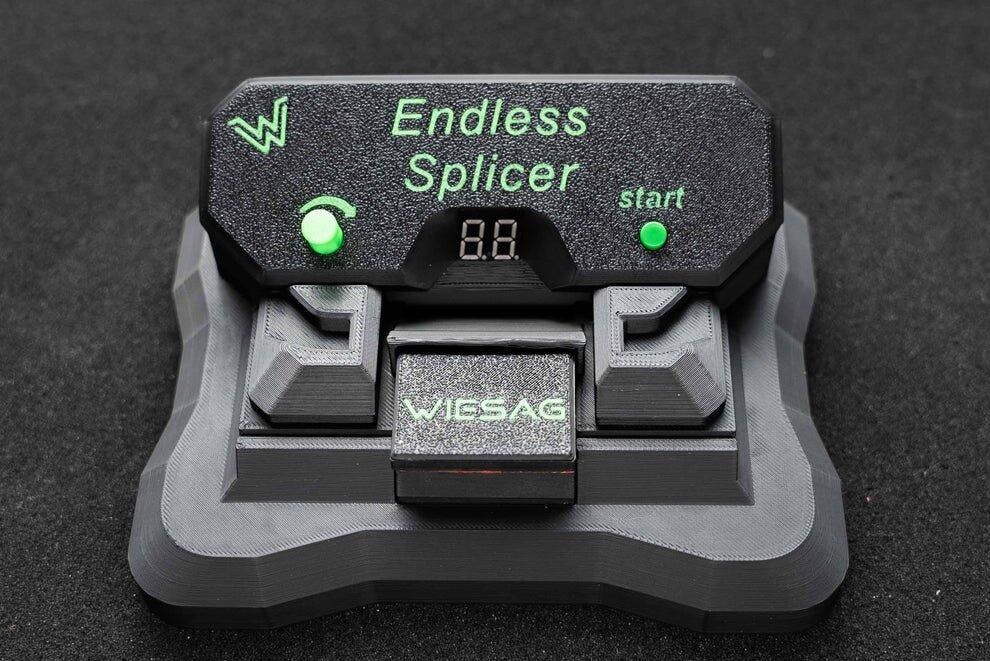
How to Use the Endless Splicer – Step by Step
Power on and preheat the device
Step 1
Plug in the power adapter and turn on the device.
Then start a heating cycle once to preheat the heating element.
Prepare the filament ends
Step 2
Then cut the two filament ends cleanly at a 45-degree angle and straighten them. This makes alignment easier.
Align the filament ends
Step 3
Position the filaments so that the cut ends are perfectly aligned. Once in place, close the clamps. This will hold them perfectly in position. After that, close the heating element and hold it closed with a finger.
Weld filaments together
Step 4
Set the time on the controller. The display shows the duration of the heating cycle in seconds. Then you can press the start button. Important: Start with a low setting and work your way up until you find the sweet spot—every filament is different!
Let it cool
Step 5
Now you have to wait a moment for the filament to cool down. To speed up the process, you can gently open the heating element after a short while and then close it again. Don’t open it too wide, or the weld will deform since it’s still soft.
Inspection of the Weld
Step 6
Now that it has cooled down, let’s open the heating element and check the quality of the weld. There should be no protruding filament, so that the 3D printer doesn’t encounter any problems during printing later on.
Congratulations! You've successfully reduced waste!
Full Process Video
Watch the entire walkthrough and learn how the product works.
Common Mistakes & Troubleshooting FAQ
Filament does not stick together
Make sure the Endless Splicer is preheated before starting the process. Also check that the filament ends are cut clean and in an 45-degree angle. Uneven or dirty ends can prevent proper bonding. Only compatible materials such as PLA-PLA, PETG-PETG, etc., will work.
The connection breaks during printing
This usually means the filament was not fully fused. Try increasing the heating time slightly and ensure you apply consistent pressure during the splicing process. Let the joint cool down completely before using it.
The joint is too thick
If there isn't enough pressure on the heating element, the material may leak. Try applying a little more pressure, and make sure both ends of the filament are properly aligned before starting the process.
Filament is not aligned properly
Make sure both filament ends are properly inserted into the guides and that there are no gaps between them. They must be positioned exactly in the center of the heating element, because that is where the heat is generated. The Endless Splicer is designed to align them perfectly, but improper placement can result in weak or uneven joints. The filament ends must be perfectly aligned with each other and have no gaps.
Can I connect different filament materials?
It is recommended to use the same material type (e.g. PLA with PLA). Mixing different materials can result in weak connections due to different melting temperatures.
Tips for Best Results
- Always cut filament ends clean and straight
- Ensure the device is fully preheated before use
- Apply steady, even pressure during splicing
- Let the filament cool completely before removing it
- Use the same material type for best strength
Pro Tip for Stronger Splices:
While the filament is heating, apply a light inward push with your fingers. This feeds a bit more material into the melt zone and helps fill internal gaps — especially useful for rePET, which is often slightly hollow. Always keep the heater fully closed to prevent material from escaping.
Did this guide help you?
We’d love to hear your feedback! Your review helps us improve and helps other users get the best results.
Still have questions?
Don't miss these highlights!
Discover our most popular products and find your new favorite


